
We are finally past most of the structural/integral upgrade to the house! Seriously…..HVAC, done. Water Heater, done. Windows, check! Porch support repairs, yup! Roof replacement, done. So it is finally time to give the house a little bit of curb appeal and superficial love! (aka, decorating and fru fru). I like using technical terms.
Making the front porch structurally sound was the absolute most important thing to do, and we accomplished that. Since the porch was now safe to use, we noticed that we wanted to use it more, and the flow on and off the porch just wasn’t working so well.
We have a cinder block fire-pit (built out of blocks found in the woods near our house….so FREE) that sits in our backyard to the left of the house (opposite from the garage). I noticed that we used the front porch to go in and out of the house a lot more than the back door when we have a fire going, so I decided we needed a second set of steps coming off the side of the porch so you didn’t have to walk around to access the steps in the front every time. Enter hammer and aggression eliminator. 10 minutes later:


Man it felt good to open up that side of the porch. Even our neighbor pointed out that he didn’t understand why no one had done that sooner. We added some steps a couple of weekends later and ta da! A second access point to the porch! We still need to add railings and risers, but the stairs function, and that is all we need right now.

About a week after I removed the railing, Home Depot had a sale on Boston Ferns, a staple for any southern porch. At $5 a piece, how could I NOT get 6 of them for the porch?

After building the side stairs we realized how bad the front steps were because we were going up them so often, so we decided those needed to be replaced. We were so glad we made that decision because termites had demolished the railing on the steps and the stringers themselves, and I won’t even get into how poorly the stairs were built (yet another “Are you serious?” moment brought to you by the House of Porch).


Once we get the new stairs all purdified (technical term) I will add some pictures. It took us a while to figure out the correct way to install the new stringers because a pre-cut 2 step wasn’t tall enough and a pre-cut 3 step was too tall (and cutting our own wasn’t going to happen). We adjusted the 3 step by cutting down the bottom step, and it worked! Yay for stairs that you are not afraid to go up!
Next I moved on to the uber dirty white-ish vinyl beadboard on the ceiling of the porch. We had a horrible infestation of wasps this year, and there seemed to be something about the porch that they just LOVED. A quick Help/Vent on Facebook and someone suggested that painting the ceiling blue like the sky gets rid of bugs. I wasn’t sure I believed it, but a quick Google search and I understood why my friend thought this.
Long story short, the people of the Gullah islands off the coast of South Carolina thought the blue color would keep vengeful and evil spirits out of and away from their homes, so they painted the trim and ceilings of porches a pale blue that they called “Haint” (haunt) blue. The paint was a traditional milk paint that had lye in it which would keep bugs away, thus the old wives tail about the color confusing the bugs (color for ghosts, lye for bugs, time lost some detail). Modern paint doesn’t have lye, but the practice of painting the ceilings was so widely used that it became a tradition. And a blue porch ceiling is just pretty…and southern!

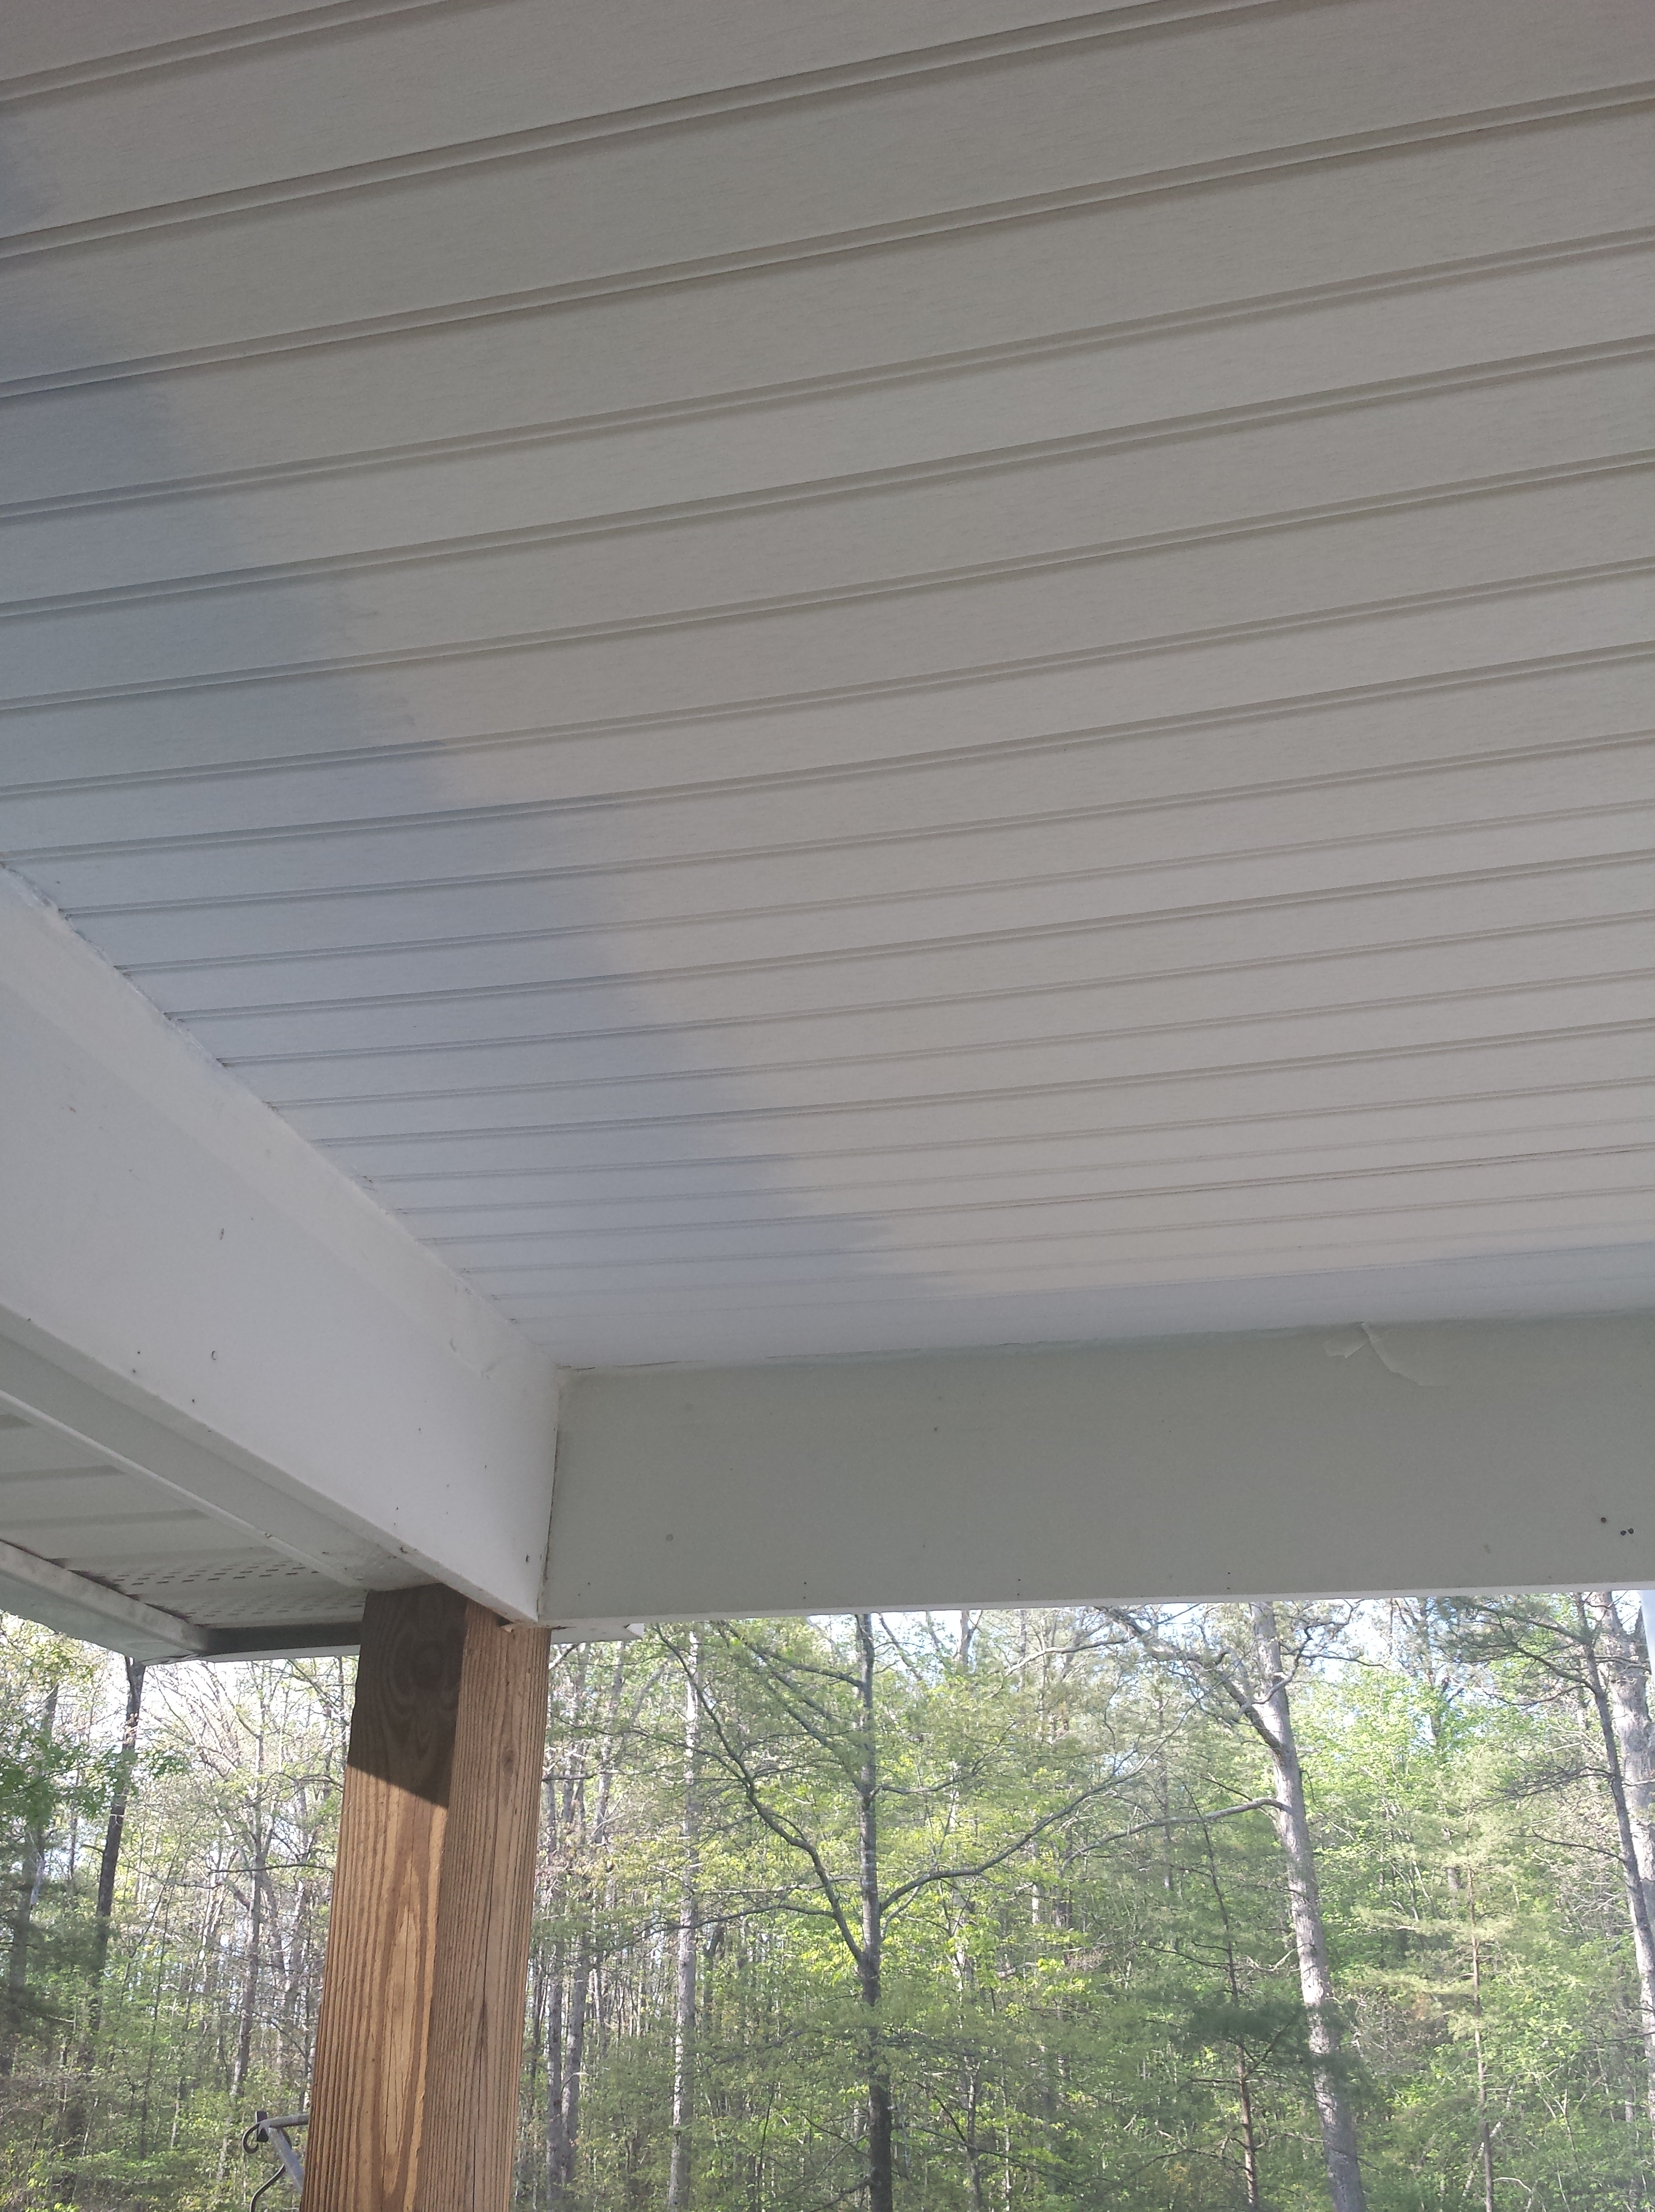

I have to throw this in – painting that damned bead-board ceiling was one of the most tedious pain-in-the-butt projects I have EVER done. Hindsight is 20/20 and if I had to do it again, I wouldn’t, I would remove all the bead-board from the ceiling and paint it in the garage. Painting in all the little grooves upside down almost drove me mad. In the end, I didn’t do a full 2nd coat, and if you look, you can see some of the spots that definitely need it, more specifically around the edge where I had to cut in by hand. Never. Again. We bought a Paint Sprayer.
Because I have lost the ability to be bored in any sense of the word, as soon as the ceiling was painted, we had the windows installed, and then I made a new wreath for the front door, but I couldn’t stop there.

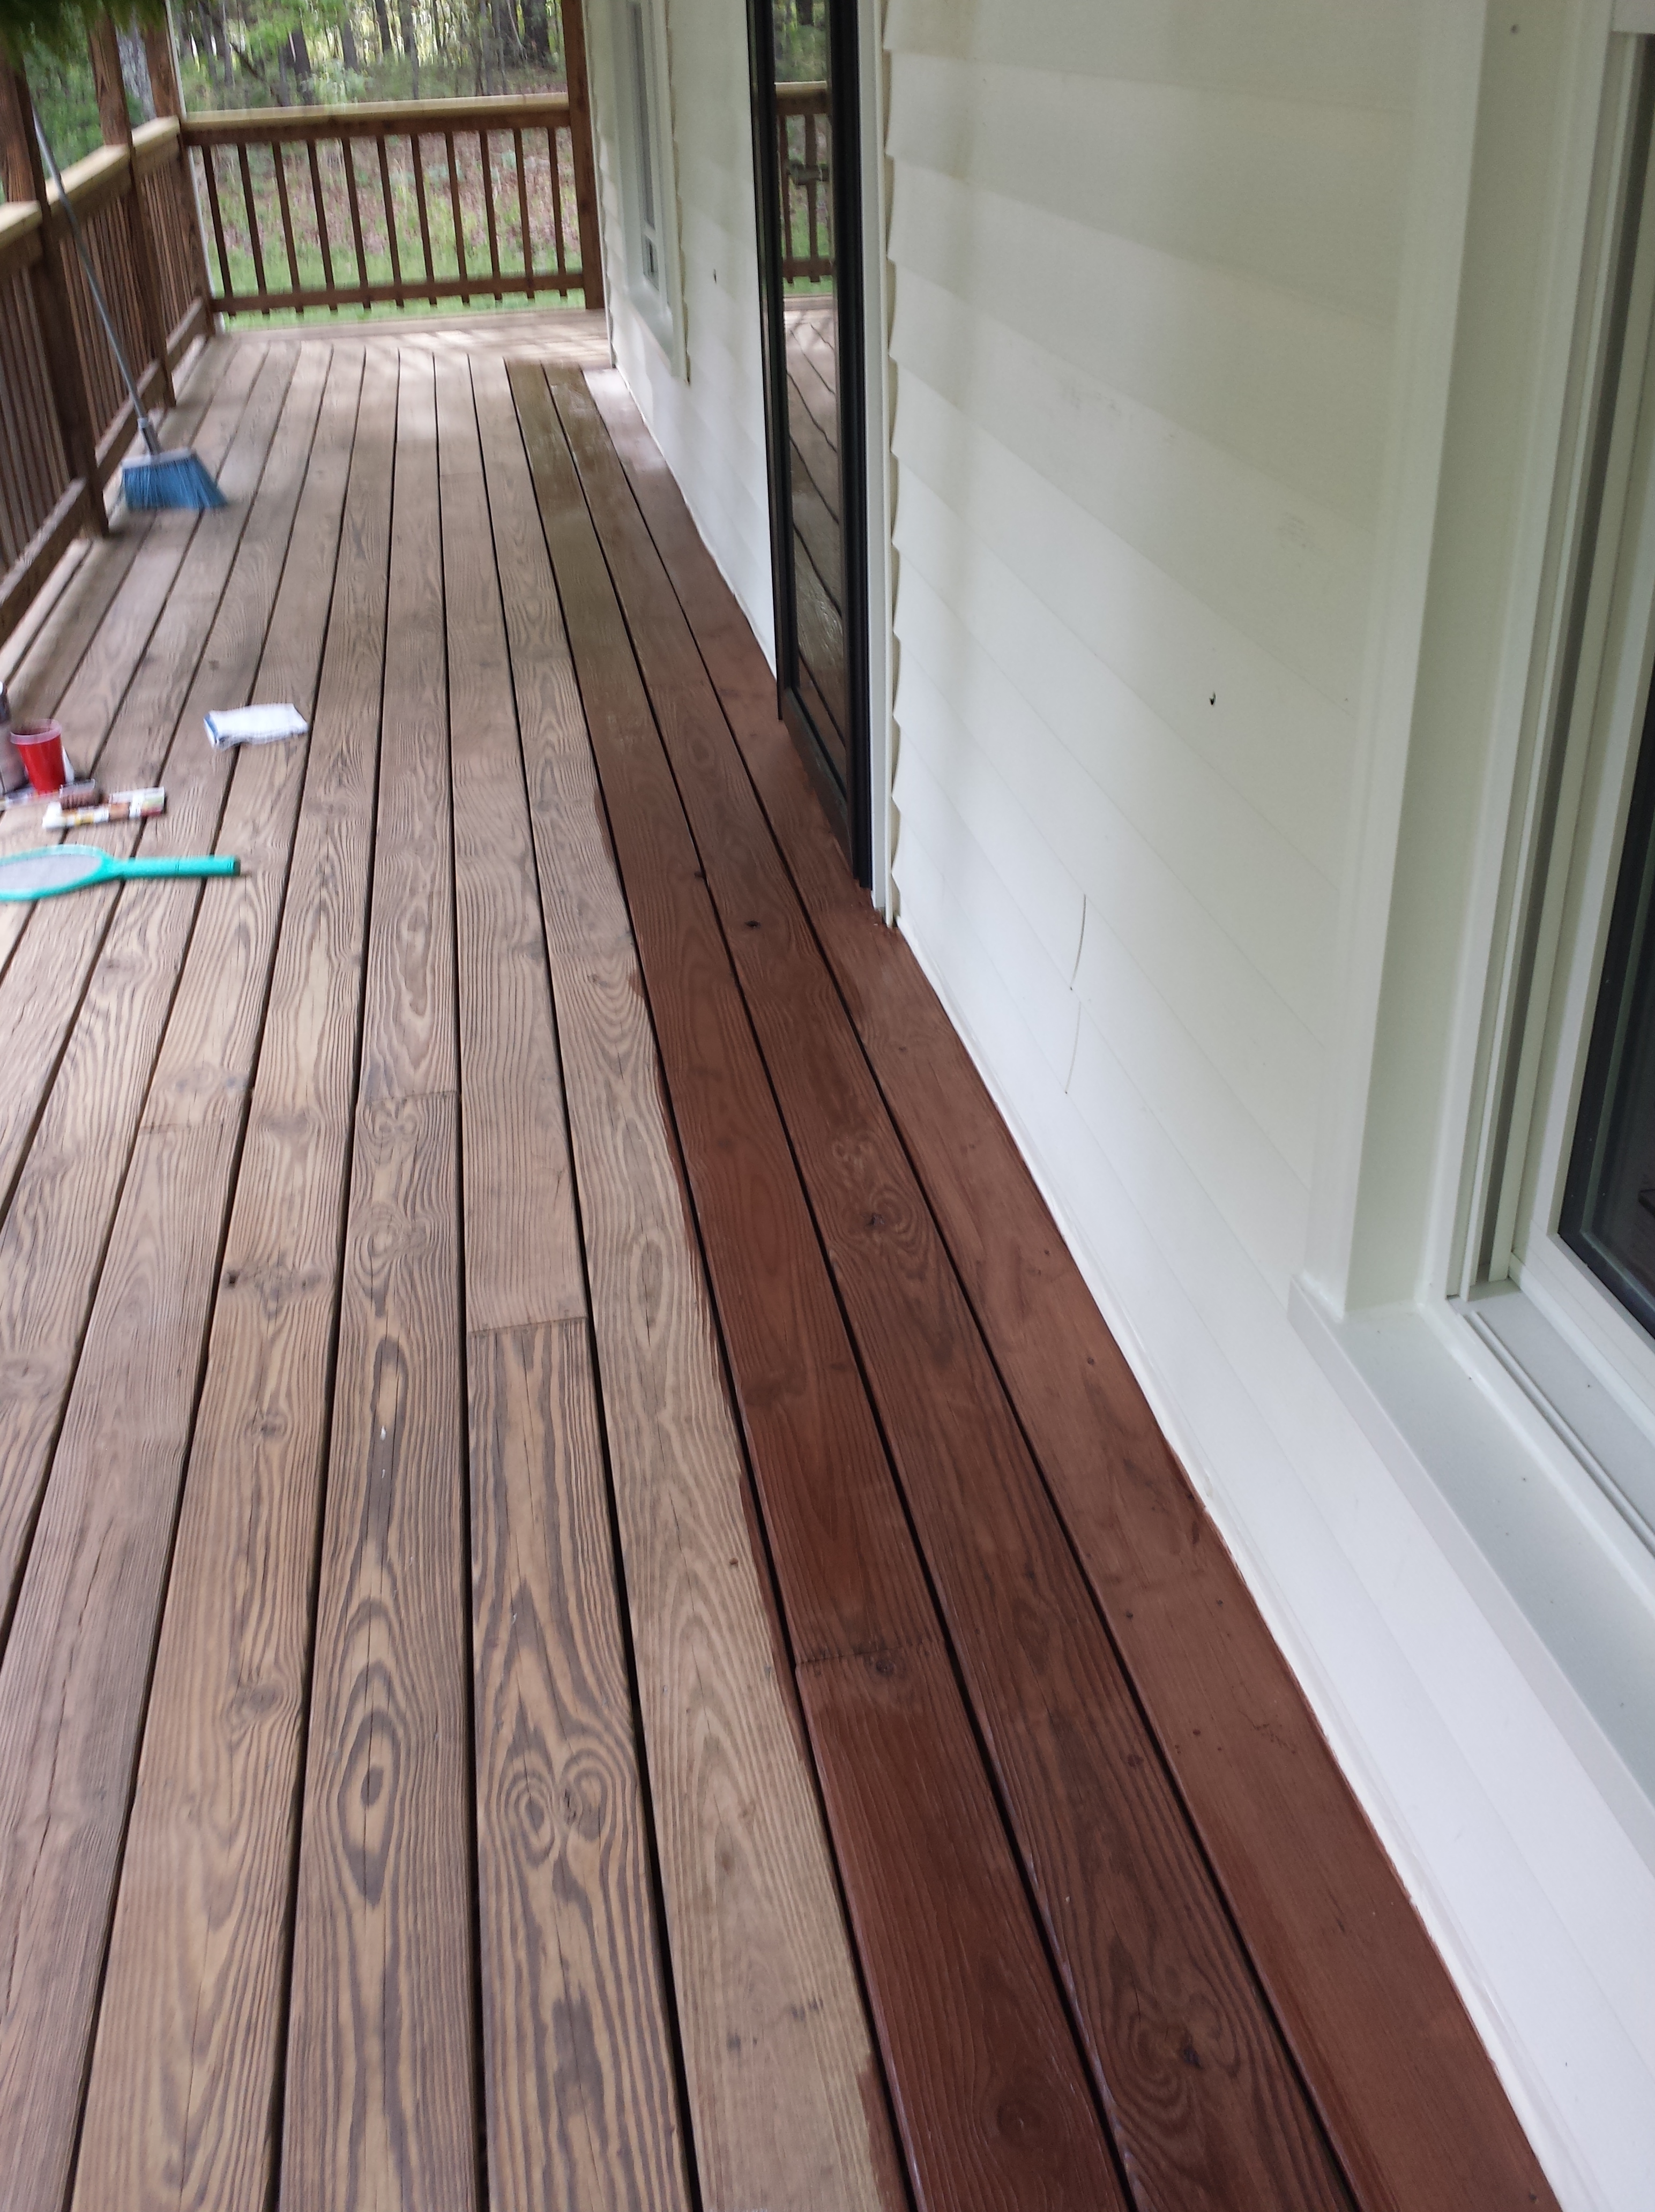
None of the decking or railings on any of the porches attached to the house were ever sealed. We got a can of Behr Semi Transparent Waterproofing and Sealant and after a thorough cleaning of the deck boards, I stained them….with a brush. The roller just did not look very nice, and I was terrified of using the paint sprayer in a confined space by myself. The prep seemed too overwhelming so I sucked it up and 48 hours and two coats later, the deck was sealed! The railings will eventually be painted white (and yes, we will use the sprayer for that) but for the time being, the sealed boards made a huge difference!


It was at this point that I got a huge surprise at work. A co-worker from our NYC Branch nominated me for, and I was awarded an “Above and Beyond” recognition….and bonus. A BONUS people!!!!!!!!!!!! My FIRST BONUS EVER! It took me all of 1.86 seconds to know exactly what I was going to do with that bonus and that is how these GORGEOUS teak rocking chairs came to be on our porch!

Word to the wise: after spending hours and hours and hours hand painting/staining a deck, do NOT put rocking chairs directly onto the wood. 5 minutes after sitting in one of them I could see the stain being damaged. For this reason, project # 4,597, rugs to go under the rockers for cuteness and to protect the decking. Through Pinterest and this blog http://lessthanperfectlifeofbliss.blogspot.com/search?updated-max=2012-06-08T08:16:00-04:00&max-results=7&start=10&by-date=false I purchased a very inexpensive rug, cut it in half, slapped some paint on it and ta da! Here is the before and after!


So there you have it, a run down of the gazillion things I have accomplished so far this spring/summer, but the season is still young and as you know, I don’t do bored well. Thanks for reading! If you have any feedback or DIY ideas, feel free to let me know! I’m always open to new project ideas!

I love everything about this post, and now I feel woefully behind in any decorating I had planned for my house.
LikeLiked by 1 person